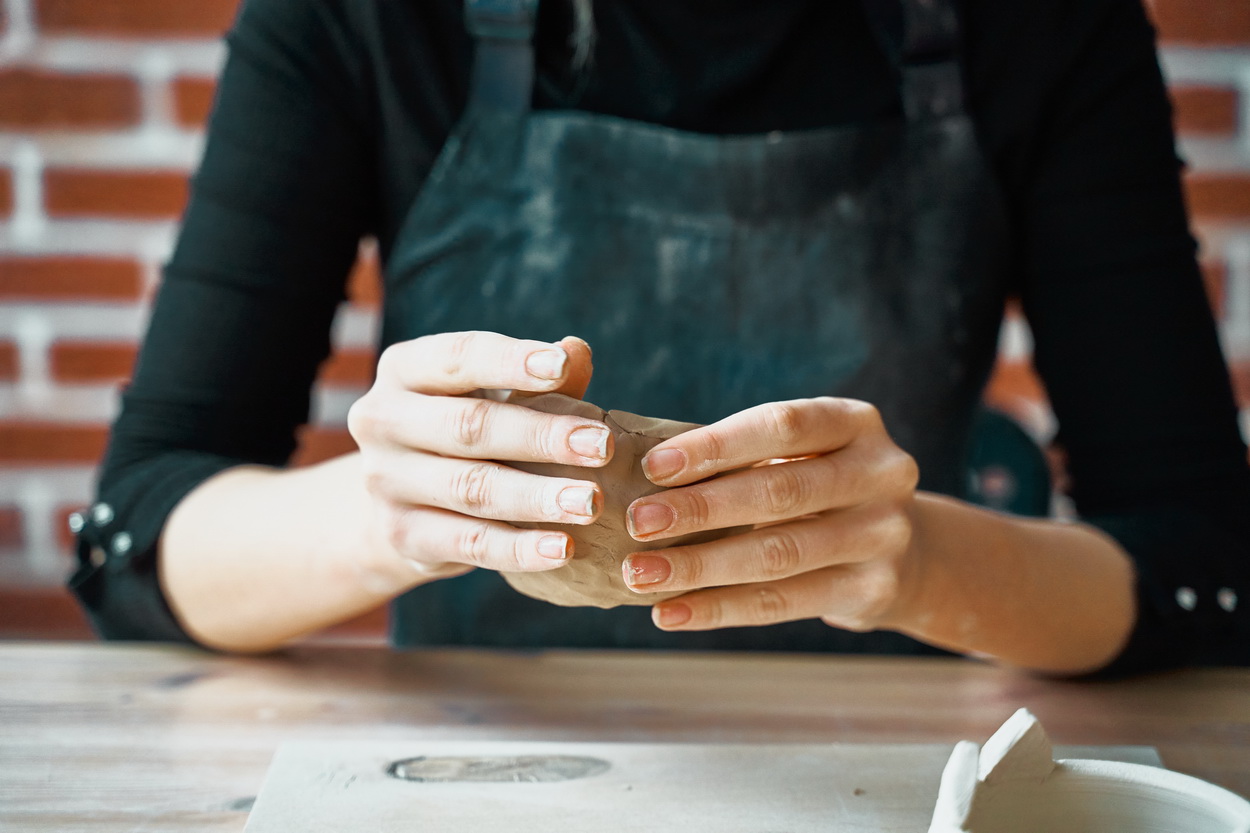
Every day, when my fingers itch so much that I can’t stand it anymore, I prepare a block of clay, I sit down to the molds and I wonder where it leads me. I’ll take the smallest form of a bowl. I fix the surface with anti-sticking foil, cut off a piece of clay and start. Piece by piece, I tear the clay from the cuttings, twist the right-handed spiral with my fingers and place it on the bottom of the bowl. I continue one spiral after another until the bottom of the bowl is completely covered.
The next step is to fix the spirals with each other. Gradually I apply the thinnest layer of clay as possible – thin monofilament on the entire surface of the spirals. This connects the spirals and creates a unifying surface for the application of the glaze. If necessary, I check and smooth out the end spirals that form the edge of the bowl.
Creativity is the way I share my soul with the world.
Brene Brown
Drying of the bowl takes about a week, when I gradually crepe goats, then I push the logo into the crepe, I check the drying, I make the last shape corrections.
After the drying is completely dry, I grind and smooth the crepe, remove the dust with a damp sponge and prepare it for firing.
The first fired overhang, it is a process in which the clay hardens and it is no longer in immediate danger of cracking after a stronger touch. Let the crepe dry and apply the chosen glaze. The water from the glaze soaks in, leaving a crack film evenly distributed on the crepe.
The species fired turns an inconspicuous object from clay into a work of art. The glaze adds elegance and life to the crepe. The bowl is ready for use.

